Self Portrait Collage
In the process of making this piece I didn't have a set idea of what I wanted to do. After taking my portrait, I decided to revolve the piece around thinking because of my pose. I added a lot of cut out newspapers, formed them into rays, and added stars to represent me getting new thoughts. I like that I added the cut out newspapers with a lot of words, but I think could have cut out more things without words to make this piece better.
Water Color and Comic FilterFor these photos, I followed the tutorials that taught how to make an image have a water color and comic look. When I worked on the comic filter (the portrait image) it didn't look as comic-y as I thought it would come out. However I tried to make it look as close to a comic as possible. When making my second image have a water color filter, I thought that it looked pretty close to looking like a water color painting. Next time, when I try to apply these filters to other images I would want to color correct to emphasize the filters better and practice more on the comic filter.
Biographic Portrait - Kelina Elredge
I used Kelina Elredge, Miss Aloha Hula 2017, for my biographic portrait. I replaced most of her body with different types of flowers and leaves then used an image of mountains as the background because she is from Hawaii. Kelina Elredge would use fresh plants in her dances so I thought covering her with nature was on theme to what she wears as she dances. I focused a lot in this piece on adjusting the brightness of the flowers because I thought it looked really flat as I was placing everything. Additionally, I color corrected the different types of flowers to match what the original image had. In my opinion I believe I did best on the color and placement of all the flowers since Kelina's facial features are still very defined and visible.
Images by: Dusty, Ella Wei, Hawaiian Host, Jayakrishnan Krishnakumar, Reiley Taya My Safe Space Sculpture - My Room As I brainstormed what was my safe place was, I had many options in mind; like the studio I dance hula in, a place I hang out with my friends at with, and obviously my room. Ultimately, I decided on recreating my room because I feel most comfortable there. Even though my other options were a little more unique, there wasn't much I could include in a sculpture for those. With choosing my room, I had more opportunities to include more components that are meaningful to me. I have been living in my room since I was a little kid and I still keep my original room decor, such as the heart canvas and my lamp.
The color scheme for this sculpture is mostly white with some pastel colors. I thought this color scheme was fitting since I used realistic colors that are in my room. I kept most of the sculpture white to make the important pieces of my room pop with color. The 5 joints and hinges I used in this were stacking, slot and tab, notches, tabs, and flange. These hinges were used in each piece I made, but mostly in my desk and my bed. |
Photo Manipulation Project
For this project I was tasked with creating a new image by combining a couple free images. I wanted to include a big bee so I combined it with flowers and clouds for its background. As you can see I ended up blending the clouds into the flower image, then cut out the bee from its original image, and made it large. My intention for this piece was to make it look unreal and natural at the same time. Additionally, I color corrected the images so they would blend together and look more real. I believe I did well on this piece considering this was my first time combining photos.
Images by: Gina Ball, Miguel Á Padriñán, and Jason Leung Pen Tool Project
After learning how to successfully use the pen tool in Photoshop, I used the pen tool to cover the subject's skin. I masked the subject so the body of water would be the background. While working on this project I wanted to keep the colors on the pastel side, so I color corrected the body of water to be lighter and more on the teal side. I decided to use the pen tool to make the subject's skin pink to match the colors of the subject's outfit. Something I could have done differently on this project would be using a subject that had all of their body showing, because I personally think it looks a little weird that this subject's shoes are cut off a little bit. Overall, I like how this project turned out with the use of the pen tool even though the shoes being cut off bothered me.
Images by: Ammar Sabaa and Xavier Tan Intro to gif
To learn how to make a gif I used old photos of me and my friend. I added the hearts to the gif because it looked too simple with the pictures just switching. I made them fade away as well just to make the gif a little more fun. Making this gif helped me improve at getting ideas for what I can put into a gif.
Personality Gif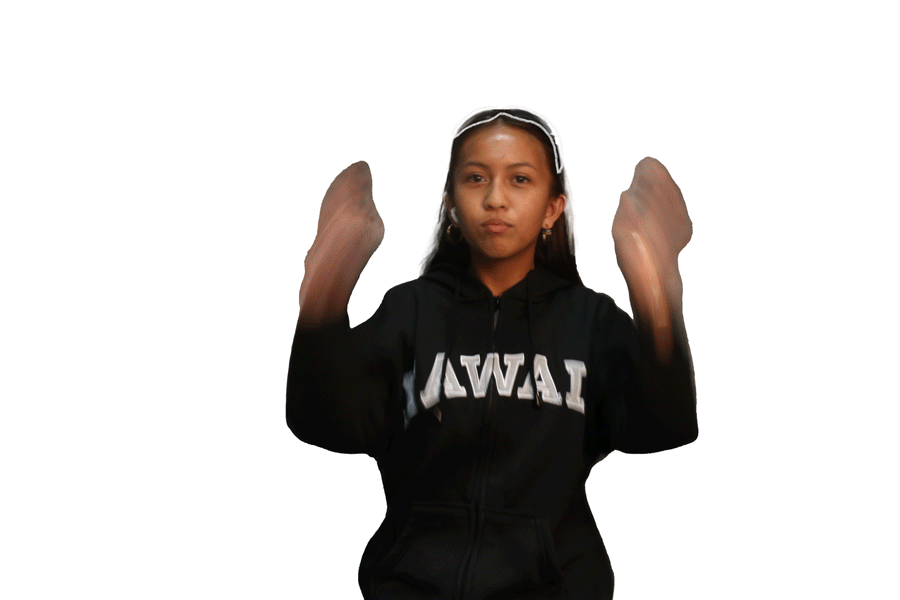
My original idea for this gif was to use a different pose with my airpods but I ended up using these frames with my shades. I decided on using these photos with my shades instead because I used to bring sunglasses with me everywhere and shades were my thing! I drew over the shades to emphasize them and it made my gif look better. While making this, I couldn't decide on what to do for the background and I changed it often but the end of this process I chose to add the "HAHA HAHA" in the back to display how I'm always laughing. Near the end I also added sparkles coming from my fingers to add color since it looked boring with so much black and white.
Photo SeriesThe story within this photo series is about a girl being taken in broad daylight. I made the story to be set during the day since I felt that I only ever hear about kidnappings during the night. Throughout the pictures you'll see the the girl on the phone slowly being approached, then grabbed by someone in a distance. I kept the color scheme of this series bright to keep the story in the day. Through this series, the message I wanted to convey was to be aware of your surroundings and stay alert at any time of the day.
|
